Headlines
How to Repair A Glass Pumpkin with RapidFix Adhesive
Monday, October 19, 2020
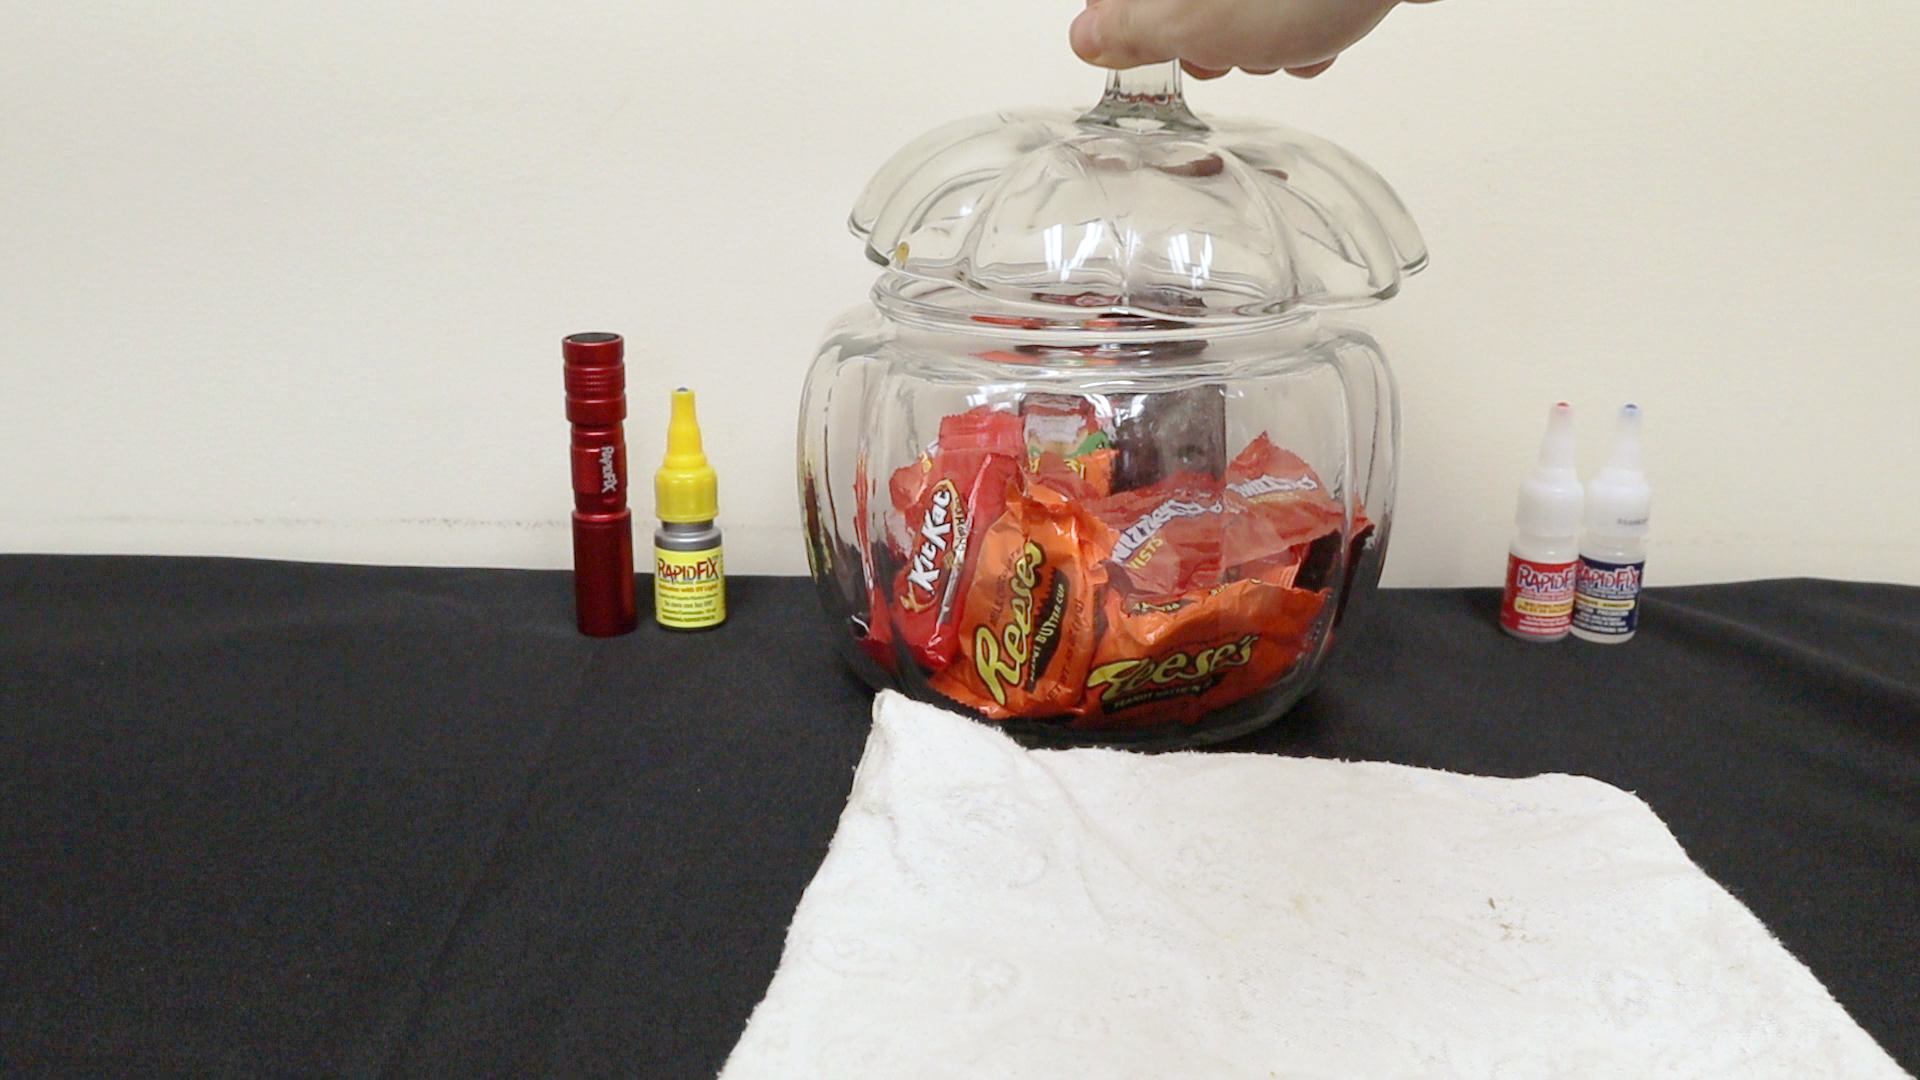
Cool, crisp days and falling leaves inspire us to bring the feel of the season into our homes. Sometimes, unpacking treasured fall and Halloween decor can result in mishaps leaving you with broken items, as is the case with this vintage glass pumpkin candy jar. Rather than throw the broken pumpkin lid away, we fixed it in seconds with RapidFix® Instant Adhesive.
Making the Repair:
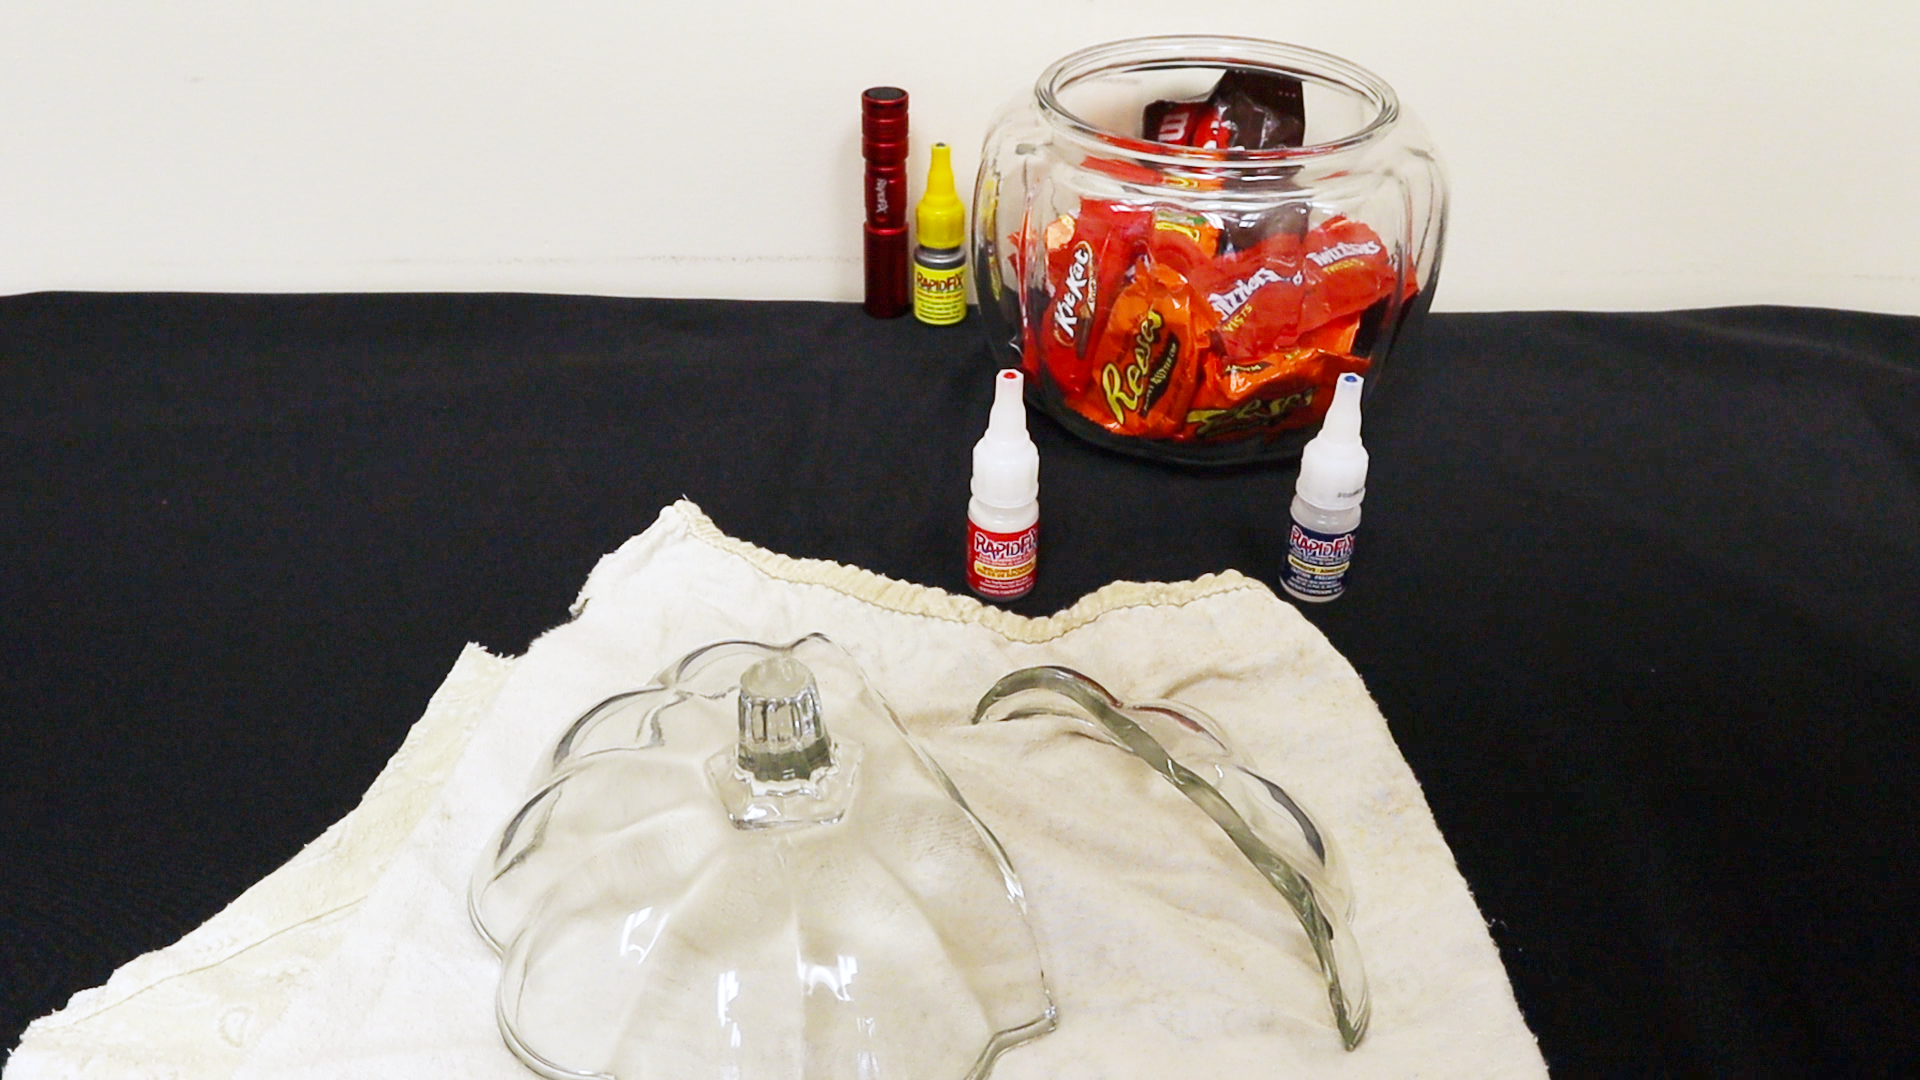
First, collect your supplies - adhesive, cloth, and paper towels. We recommend making the repair on top of a towel or cloth that can be washed to protect your work surface. Use paper towels or an extra rag to wipe off any excess adhesive from the repair. Lastly, do not forget the adhesive!

If the break is not clean - you have a couple of options. You could sand down the glass to make the pieces more flush with one another. Perform this step before applying adhesive. Alternatively, you could use RapidFix welding powder or the RapidFix UV Activated Adhesive to fill in gaps once the pieces bond together. We will cover this step below.
Apply RapidFix Adhesive
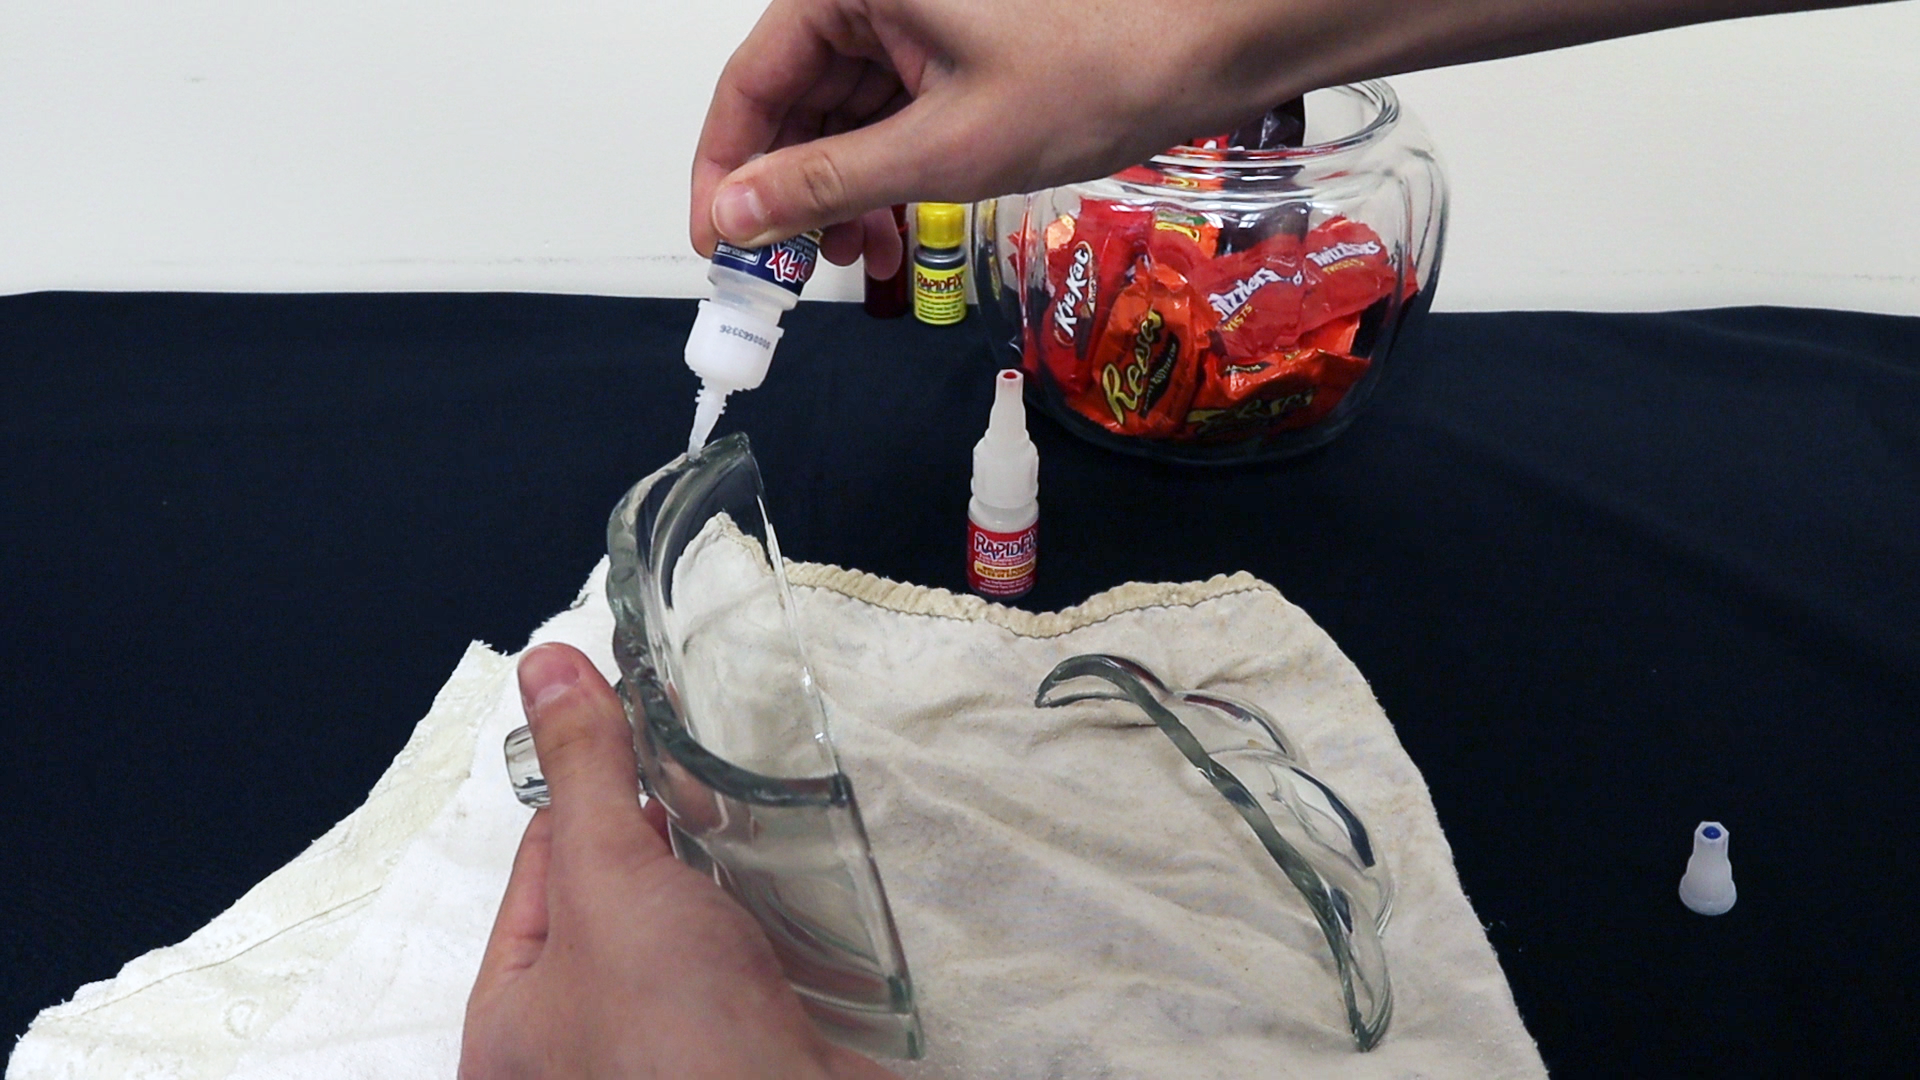
Once you assemble your supplies, apply small drops of RapidFix Instant Adhesive along the edge of one broken piece. Next, press the glass pieces together and hold for 3 - 5 seconds. RapidFix instantly bonds two surfaces together by eliminating the oxygen between the two pieces of glass.
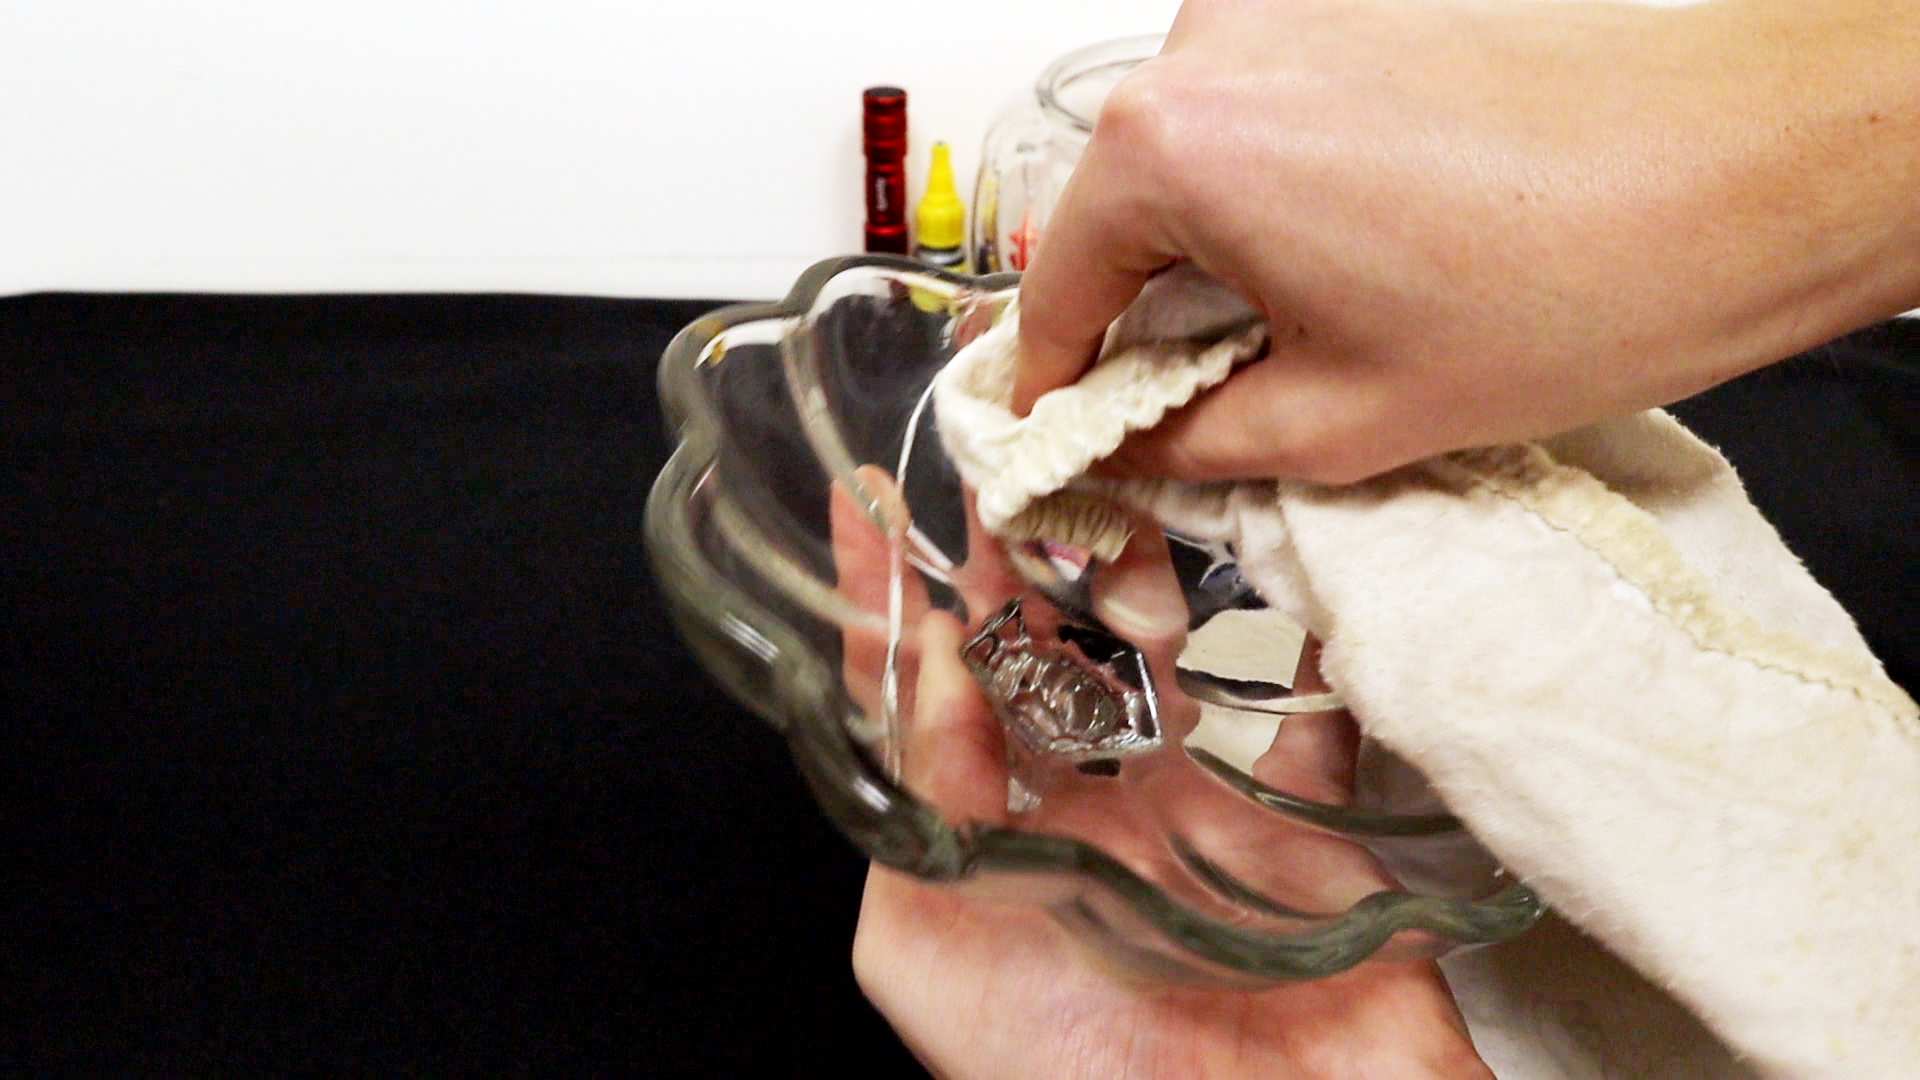
Wipe off any excess glue with a dry paper towel or cloth.
At this point, your repair is complete; however, if you notice any chips or gaps, use a filler glue such as RapidFix UV Adhesive (clear) or the welding powder included with the RapidFix Instant Adhesive. RapidFix, combined with the welding powder, does not dry clear. In this situation, we are going to use RapidFix UV to fill in any gaps. RapidFix UV activates and hardens when exposed to UV light (we include a UV flashlight with the adhesive).
Using RapidFix UV to Fill in Gaps and Cracks
First, set the glass in a position that allows the UV adhesive to sit on top of the break without running off. Apply a small amount of adhesive to the crack.
Shine the RapidFix UV flashlight onto the first layer of adhesive for 10 - 20 seconds. Continue building the layers up until the crack is completely filled. The UV adhesive dries clear.
Since our break was not completely clean, the crack remains visible; however, we feel it adds a creepy dimension to the pumpkin. Finally, fill the pumpkin with your favorite Halloween treats and have a spookily fun Halloween!
We guarantee your bottle of RapidFix will be ready to make repairs for next Halloween!
Making the Repair:
First, collect your supplies - adhesive, cloth, and paper towels. We recommend making the repair on top of a towel or cloth that can be washed to protect your work surface. Use paper towels or an extra rag to wipe off any excess adhesive from the repair. Lastly, do not forget the adhesive!
If the break is not clean - you have a couple of options. You could sand down the glass to make the pieces more flush with one another. Perform this step before applying adhesive. Alternatively, you could use RapidFix welding powder or the RapidFix UV Activated Adhesive to fill in gaps once the pieces bond together. We will cover this step below.
Apply RapidFix Adhesive
Once you assemble your supplies, apply small drops of RapidFix Instant Adhesive along the edge of one broken piece. Next, press the glass pieces together and hold for 3 - 5 seconds. RapidFix instantly bonds two surfaces together by eliminating the oxygen between the two pieces of glass.
.PNG)
Wipe off any excess glue with a dry paper towel or cloth.
At this point, your repair is complete; however, if you notice any chips or gaps, use a filler glue such as RapidFix UV Adhesive (clear) or the welding powder included with the RapidFix Instant Adhesive. RapidFix, combined with the welding powder, does not dry clear. In this situation, we are going to use RapidFix UV to fill in any gaps. RapidFix UV activates and hardens when exposed to UV light (we include a UV flashlight with the adhesive).
.PNG)
Using RapidFix UV to Fill in Gaps and Cracks
First, set the glass in a position that allows the UV adhesive to sit on top of the break without running off. Apply a small amount of adhesive to the crack.
.PNG)
Shine the RapidFix UV flashlight onto the first layer of adhesive for 10 - 20 seconds. Continue building the layers up until the crack is completely filled. The UV adhesive dries clear.
.PNG)
.PNG)
Since our break was not completely clean, the crack remains visible; however, we feel it adds a creepy dimension to the pumpkin. Finally, fill the pumpkin with your favorite Halloween treats and have a spookily fun Halloween!
We guarantee your bottle of RapidFix will be ready to make repairs for next Halloween!